
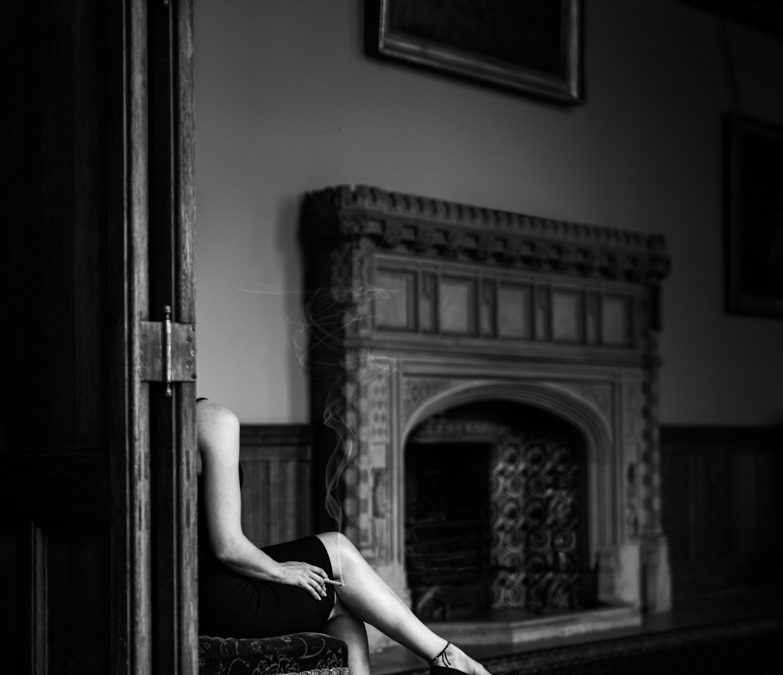
Creating the image
For this week’s blog I thought I’d share a before and after. I’m often asked how I convert my images to black and white. I don’t pretend to be an Adobe Lightroom or Photoshop guru by any means but like a lot of people, I know what I need to know to do what I need to do.
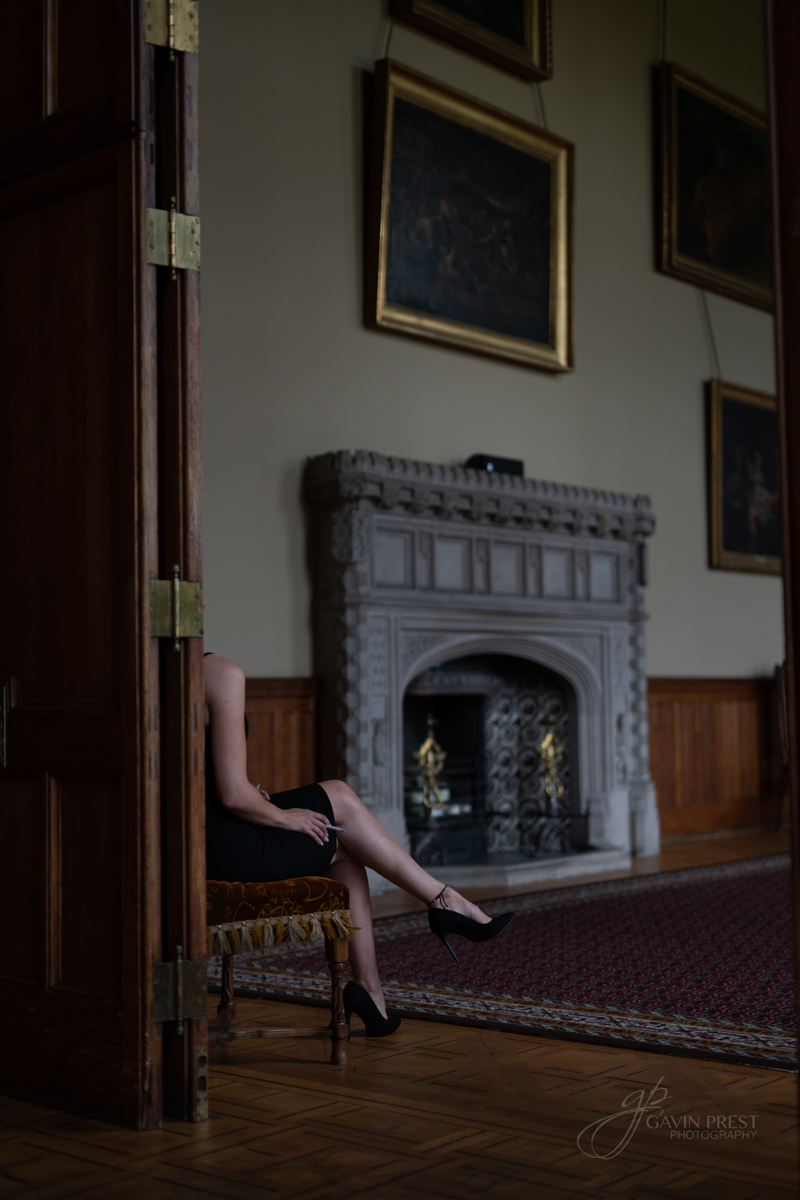
This image was captured at Carlton Towers near Goole East Yorkshire a fantastic stately home and one I have worked in many times. The legs belong to the lovely Michaela Armstrong a model and friend who lives locally to me. The image was captured on a Sony A7R3 fitted with a Sigma Art 50mm F1.4 lens. The camera was set at ISO400 1/2000 at F1.4, to be honest, I could have dropped the ISO down to ISO50 as I had lots of spare shutter speed to play with and the camera was set on a tripod and nobody was moving very fast.
What I always do first with an image is to look over it and decide what I don’t want in the final edit and comparing the two together, you will be able to see what I have removed in photoshop. When I’m putting an image together in the field you often end up with things in it you know you will have to remove and sometimes it’s easier to remove them in Photoshop than moving some priceless object in a house of this kind. To remove elements from an image I will generally use the clone stamp, healing brush and the patch tools as these work really well. I also added the smoke and did this with some smoke brushes I have in my brush folder. From the editing work in photoshop, the image goes back into Lightroom for the conversation too black and white. This will start in the develop module by normalising the image (Shift and double click of the whites and blacks in the basic tab) this will set your black and white points. Next, I will square everything up in the transform tab (Clicking auto in this tab usually does a good job) and if that doesn’t quite nail it using the (guided) button always works.
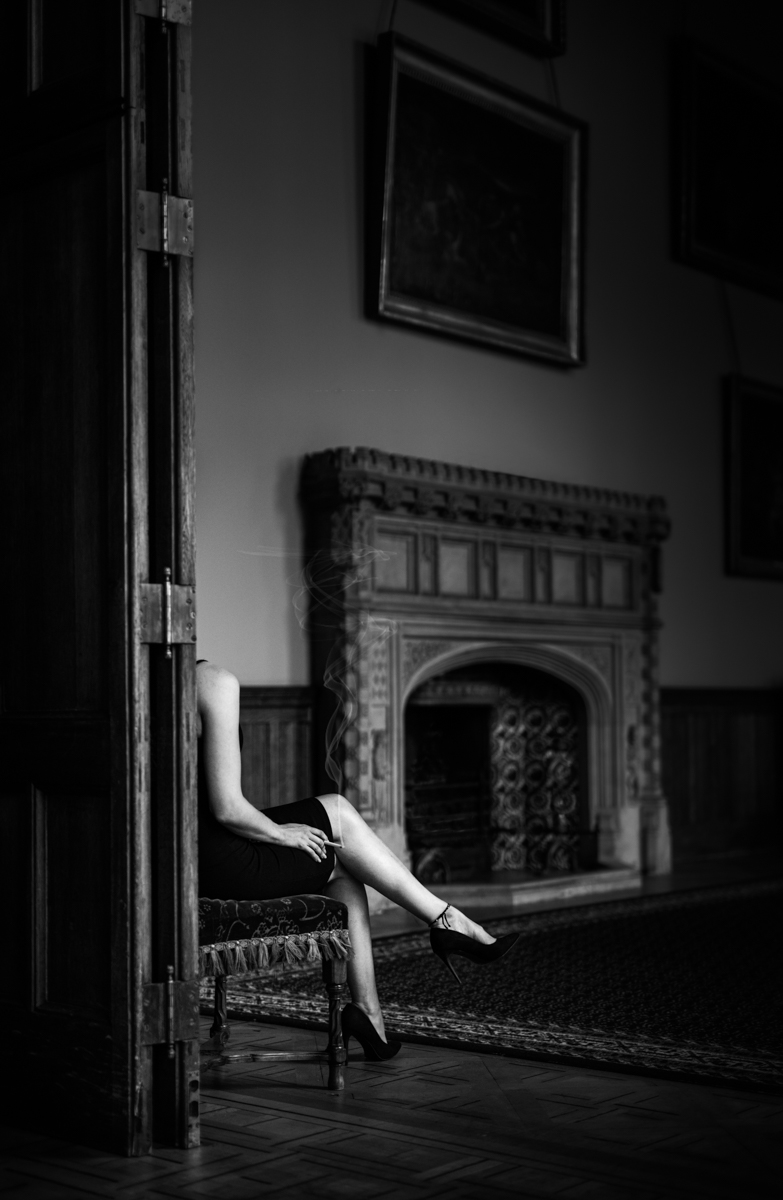
Now it’s just a case of clicking on one of the presets I’ve written in my preset folder which gives me a good starting point, as with all presets they are for starting you off but need a little tuning as the light in nearly every image is different as are the tones of an image. Moving your cursor over the presets lets you see a quick representation of what the image will look like and this is a very useful addition the CC versions of Lightroom. Once I have the image tones were I want them I will start dodging and burning the image using the radial filter and graduated filter this gives me the control to direct the viewer to the lightest point of the image (in this case Michaela’s legs) which in this image is the focal point. I always keep an eye on the Histogram too while editing and especially the white and black point making sure to keep my blacks around 3 and the whites around 96. The reason for these numbers is that when it comes to printing it makes sure the printer will put ink on the paper in the white/highlight areas as if you don’t keep the numbers under 100 you run the risk of the print having odd-looking patches in the highlights. You will also what to keep detail in the backs (shadows) as this too can look odd if you just have areas of black ink.
The presets are available here in the shop
On a side note, I have started a YouTube channel in which I hope to share future videos covering lots of subjects including image editing and some of these will be exclusive to subscribers of my website. If you have any subjects you would like to see me cover please drop me a line.
Here is a link to the introductory video.
Introduction to Gavin Prest Photography